Showing posts with label Healthy. Show all posts

Saturday, November 21, 2015

Fruit Shake

In my healthier eating quest, I was happy to find a CP recipe for a smoothie. This is my favorite kind of green smoothie.
Photo courtesy of Donning My Apron

Fruit Shake
1 c plain lowfat yogurt
1/2 c lowfat milk
2 T honey
1 c sliced fruit


Blend in blender until smooth. Makes two 207 calorie servings and provides 290 mg calcium.

I had vanilla yogurt, so I omitted the honey. I also added in a generous handful of spinach. Yum! Even O ate all his, and we are having trouble finding food he will actually eat.

Sunday, September 13, 2015

Chili Bean Dip and Bonus Recipe!

I have a sheet labelled Select Snacking that has various snack type recipes on it. I was considering making one to take with us on our drive to Muncie, but never got around to it. However, I did make one of the other recipes on the back side of the page.

Chili Bean Dip

1 15 oz. can kidney beans
3 Tablespoons, drained bean liquid
1 Tablespoon vinegar
1 teaspoon chili powder
1/8 teaspoon cumin
2 teaspoons grated onion
2 teaspoons chopped parsley


Place drained beans, bean liquid, vinegar and seasonings in blender. Blend until smooth. Remove from blender and add onion and parsley. Chill thoroughly and serve with fresh vegetables.

It was okay, but I didn't think there was enough flavor. In the future I will probably add more chili powder and cumin, plus add in some garlic powder. Big Chubb thought it wasn't spicy enough. The thing that I found interesting was the vinegar, which I thought gave it a sweet taste.


**BONUS RECIPE**

Farther down on the sheet it suggest making nachos with the bean dip.

Spread large tortilla chips with chili bean dip (above) then top with shredded cheese. Arrange on plate and microwave 30-40 seconds (until cheese starts to melt).

Little Chubb and Baby Chubb had this for lunch with me one day. They did not appreciate it. I thought is was good, It would have been better with real sour cream instead of Greek yogurt, but we are trying to be healthier.

Wednesday, July 15, 2015

Sweet Potato Maple Walnut Muffins

It looks like it was copied out of a cookbook.

Sweet Potato Maple Walnut Muffins

"What a delightful way to get your beta carotene and your potassium in every delicious bite, plus a good helping of precious linoleic acid, which helps prevent harmful deposits of cholesterol and contributes to smooth, beautiful skin."

2 eggs
1/3 c maple syrup
2 T sweet butter or olive oil
1/2 c crushed, unsweetened pineapple with juice
1 t vanilla
1 c grated raw sweet potato
1/2 c raisins, plumped
1/2 c sunflower seeds or chopped walnuts
1 3/4 c sifted whole wheat flour
1/4 c wheat germ
2 t baking powder
1 t cinnamon
1/8 t ground nutmeg

In a large bowl or food processor, blend together the eggs, maple syrup, butter or olive oil, pineapple, vanilla, sweet potato, raisins, and walnuts or sunflower seeds.

In another bowl, stir together the wheat flour, wheat germ, baking powder, cinnamon, and nutmeg.

Preheat oven to 375 degrees F. Grease or line 3 dozen minimuffin wells or 1 dozen regular-size
muffin wells.

Combine the wet and dry ingredients and mix only enough to combine the ingredients. Spoon the mixture into prepared muffin tins. Sprinkle a few nuts or seeds on each muffin.

Bake 12 to 15 minutes for minimufffins, 20 to 25 minutes for regular-size muffins or until golden brown and a cake tester comes out clean.

Yield: 3 dozen minimuffins or 1 dozen regular-size muffins.
Approximately 50 calories each for minimuffins, approximately 179 calories each for regular-size muffins.


These have some weird ingredients, but I happened to have everything when I was looking for a muffin recipe this morning, so I made them. We liked them. The raisins were a little overpowering, and I really couldn't taste the sweet potato, but the overall taste was good. I like the sunflower seeds in it. Too bad I only had about 2 tablespoons of seeds. I have lots of other muffin recipes I like, so I probably won't go out of my way to make them again, but they are good.

Thursday, June 25, 2015

Fancy Cantaloupe Soup

I have a page from the Farmers' Advance (September 9, 1998) that has several fruit soup recipes on one side and some fast family dinners on the other. I've been wanting to try the fruit soups for awhile. I did the safest one first.

FANCY CANTALOUPE SOUP

2 medium cantaloupes, well ripened, halved and seeded
1/4 cup sugar
1/3 cup fresh orange juice
1 tablespoon fresh lime juice
1/3 cup apple juice
1/4 cup dry sherry
1 tablespoon fresh lemon juice
1/4 teaspoon vanilla extract
1/8 teaspoon ground ginger
1/4 cup chopped macadamia nuts
Thin lime slices

Yields 6 servings

Scoop pulp from 3 ripe cantaloupe halves. Cut remaining cantaloupe 1/2 into melon balls and reserve.

Thoroughly combine cantaloupe pulp, sugar, orange juice, lime juice, apple juice, lemon juice, vanilla extract and ginger. Process mixture in 2-cup batches, 30 seconds per batch or until smooth.

Pour into large non-metal bowl, cover, and chill several hours or overnight.

Serve in shallow bowls garnished with melon balls, macadamia nuts and lime slices.

I admittedly made several changes. I omitted the sherry, substituted pineapple juice for the orange juice, put in a spoonful of applesauce in place of the apple juice, and omitted the macadamia nuts. I thought my substitutions were pretty good, and I did like the soup overall. It was canteloupe-y with a bright flavor. Brian didn't like it. He said the taste was fine, but he thought it was weird to  drink canteloupe. C had one bite of it, but I don't think she commented on whether or not she liked it. I didn't even try to give O any. Maybe for breakfast tomorrow. I halved it and It made more than 3 servings. 

The cherry soup might make on appearance on the blog, but don't hold your breathe for the grapefruit soup (with tomato juice and onion!) or the plum soup.

Sunday, April 12, 2015

Healthy Oatmeal Chewies

This recipe is was written on an old recipe card, possibly from one of Mom's siblings. It was not Mom's handwriting, but it was similar. I find it interesting to see what was considered healthy 30ish years ago.

Healthy Oatmeal Chewies
2 cups quick cooking oats
1 cup brown sugar
1/2 cup oil (soy, if desired)
1 egg, beaten
1/2 tsp salt
1/2 tsp vanilla
1/2 c coconut or wheat germ (I {whoever wrote the recipe} used both)

Combine oats and sugar with oil and let stand at room temp 1 hr. Add beaten egg, salt, vanilla, wheat germ or coconut or both. Place by tablespoons on a greased cookie sheet. Bake at 325 degrees for 12-15 minutes. 2 1/2 dozen.

These are probably the ugliest cookie I have ever made, but they were uniquely good. They are kind of like a mix between a cookie and a granola bar. I used both coconut and wheat germ, and I enjoyed the taste they each gave. I also added a second egg because it seemed too dry (maybe because I added both coconut and wheat germ?). I didn't think they would end up resembling anything near a cookie, but they were okay. I guess they aren't cookies anyway; they are chewies.

Helpful hint: Grease the cookie sheet well, even if you think a nonstick pan is good enough.

Monday, March 2, 2015

A.'s Original Split Pea Soup

I planned on having split pea soup this week. I didn't make the recipe Emily just posted because I remembered I had one to try. It's another from Tonya Campbell, number 51027. I wonder who A. is?

2 c (1 lb) split peas
2 qts water
1 large carrot, chopped
1 stalk celery, chopped
1 onion, finely chopped
1/4 t thyme
pinch cayenne pepper
1 bay leaf (or 2-3)
Salt and Pepper
Diced Ham

Boil for 20 minutes, simmer until peas are soft; put through strainer (we use blender). Bring back to a boil and serve. Sprinkle ham on top.

Yum. I liked that this recipe had carrot (I omitted the celery), but it would have been better cooked in broth. I put in some bouillon instead of salt, and it helped give it some extra flavor. My bag of split peas said to not put in the salt until the peas were cooked, which I obeyed. They still could have been a little more done. I think the high altitude makes them take longer.

I liked it and decided we needed to have split pea soup more often. O loved it and complained every time I took a break feeding him to take a bite myself. He ate all of his and half of C's. C pronounced it "yucky" after glancing at it, and then was forced to take a bite in order to get a roll to eat. Then she pronounced it "yuuuuuuuuummy." Brian said he liked it too, but he got home late, so I wasn't in the kitchen when he ate. I couldn't gauge his real response.

Thursday, July 10, 2014

Wheat Germ Yogurt Bread

Wheat Germ Bread
 No need to be a health food nut to enjoy it!

Makes 2 loaves
4.5 to 5 c unsifted flour
1/3 c instant nonfat dry milk solids
2 T sugar
2 t salt
2 packages Active dry yeast
1 1/3 c water
1/2 c plain yogurt
2 T Margarine
1/2 c wheat germ


Mix 1 3/4 c flour, dry milk solids, sugar, salt, and undissolved yeast.
Heat water, yogurt, and margarine until liquids are very warm (120-130 degrees).  Margarine need not melt.  Gradually add to dry ingredients and beat 2 minutes at medium speed of mixer.  Add 1/2 c flour.  Beat at high speed 2 minutes.  Stir in wheat germ and enough additional flour to make a stiff dough.  On floured board knead until smooth, 4-5 minutes.  Divide dough in half.  Shape into two balls.  Place on greased baking sheet.  Cut a circle in the top of each 1/2-inch deep and 1-inch from outer edge.  Cover; let rise in warm draft-free place 45 minutes.
Bake at 375 degrees F 20 to 25 minutes, or until done.  Remove from sheet and cool on racks.

 What did we think of it??

She declares it tasty.  We loved the crusty outer edge and the light inside.  I think I added a little too much flour, so it was a little dense and undone in the middle.  4.5 cups was too much.  But we still loved it.  We ate one whole loaf for lunch between the three of us.  If you are looking for a tasty bread recipe for an evening snack, try this.

Sunday, June 29, 2014

Whole Wheat Cinnamon Raisin Muffins

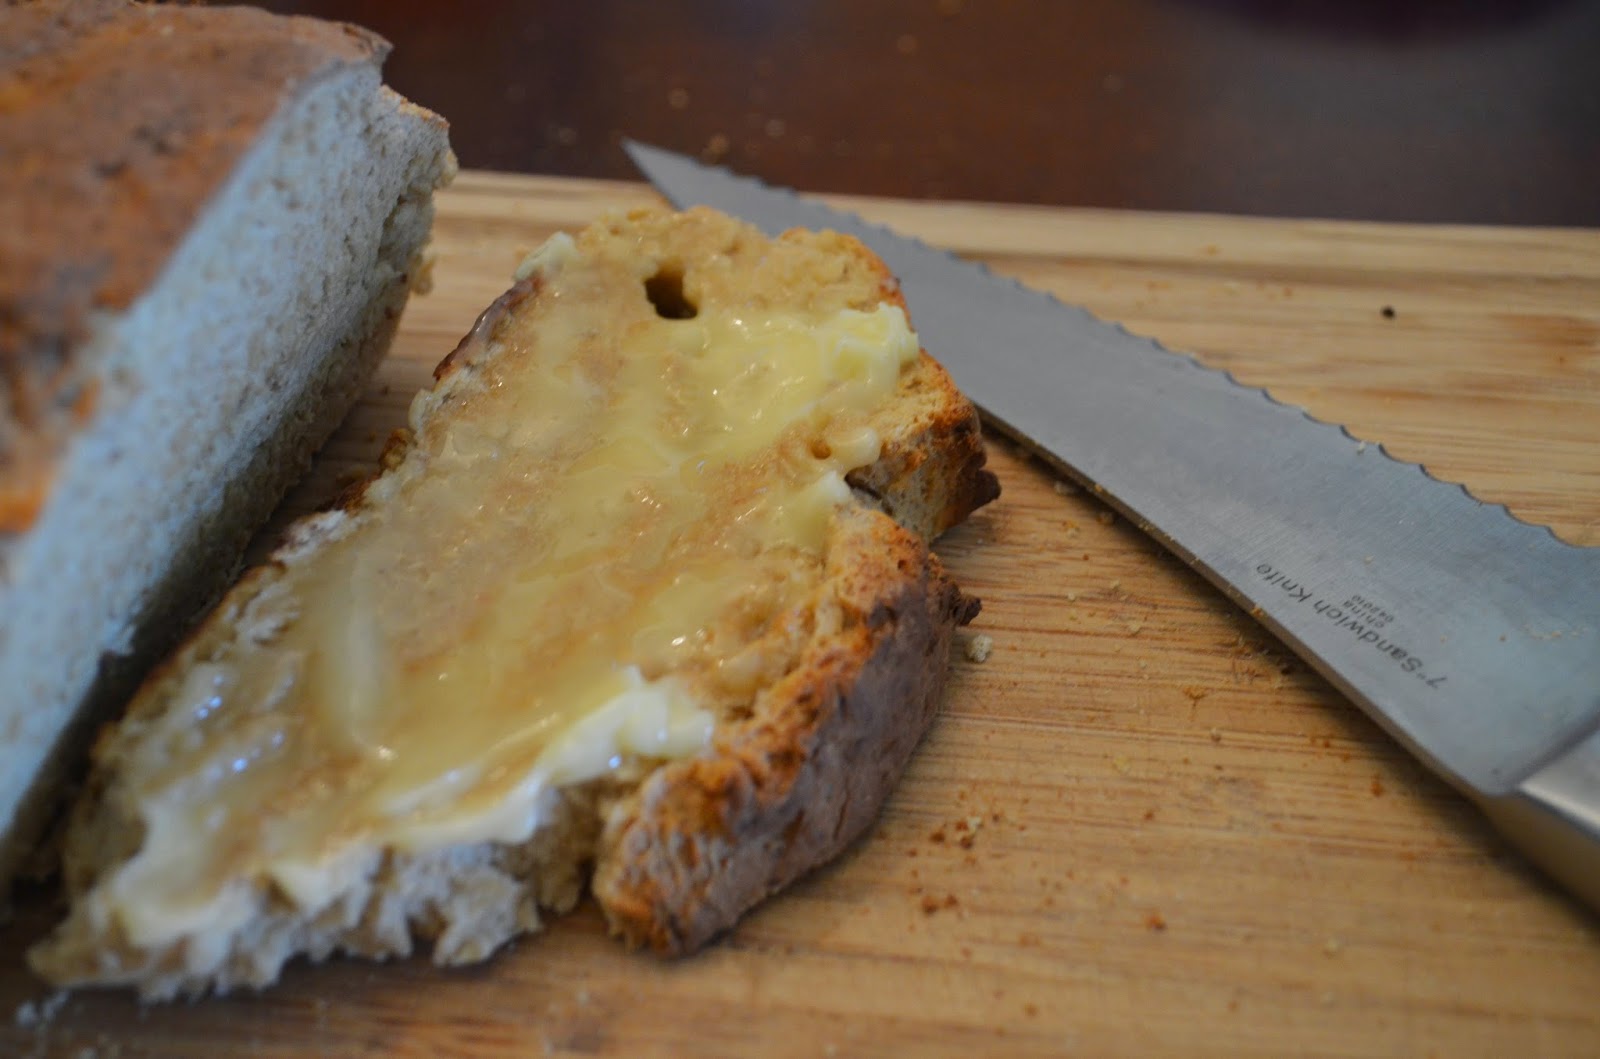
I love english muffins. My favorite way to have them is toasted with honey butter slathered on top. Yum. I could eat half a dozen at a time (and have).   I have been wanting to make these for awhile now.  I love the recipe in the Allred Cookbook, but they aren't whole wheat.  So when I saw these in my pile I shouted with joy.

Whole Wheat Cinnamon Raisin Muffins

Split these muffins with a fork and toast the cut sides.  Serve with yogurt cheese and fruit conserve.

1 T dry yeast
1/4 c warm water
1 t honey (we are out, so I used maple syrup)
1 3/4 c warm milk
3 1/4 c whole wheat bread flour
1/4 c wheat germ (I suggest getting it before you are in the middle of the recipe and have to run to Walmart...)
1 1/2 t cinnamon
1/2 c raisins

NOTE: I omitted the cinnamon and raisins because I wanted a more versatile muffin.  

In a small bowl, dissolve the yeast in the water and add the honey.  Set aside to proof ten minutes. 

In a larger bowl, combine the milk, bread flour,wheat germ, and cinnamon.  Add the yeast mixture and raisins and beat well.

Cover and let rise in a warm place until double in bulk (about one hour).

Heat a heavy griddle, skillet, or baking sheet on top of stove.  Brush with oil.  Grease several crumpet rings, small tuna cans with both ends removed, or canning jar rings.  Keep the heat under the griddle low.

NOTE:  I prefer to use the electric skillet Grandma gave us when we got married.  It has a lid, so the middle gets cooked through better than on a griddle. 
 
With a spoon or ladle, half fill the rings.  Cook the muffins about 6 minutes on each side or until brown on both sides.

Yield: 15 muffins
Approximately 157 calories each


Here are my thoughts on this recipe.  It was not near as liquidy as the recipe made it out to be.  I cut the dough with my jar ring, instead of filling the dough into it.  I had to add more water to get it even that liquidy.  In the end, it didn't seem to make much of a difference anyway.

My other issue was with rising times.  The recipe I normally use says to rise 12 hours at least.  This only said one and when I went to check it after an hour it had risen, but didn't taste like english muffins.  So I let it rise overnight and it was much better in the morning. 

Other than that it was a great recipe.  We have already eaten half of them and I just made them yesterday.  We eat them for breakfast, lunch, dinner, and snack.  Yesterday we used them for mini pizzas. 

I will definitely make this again with a few tweaks based on my last experience.

Saturday, March 29, 2014

Carrot-Bran Muffins

I was in the mood for something special for breakfast, so I dug through my recipes and chose this one. What I really wanted was a really good coffee cake, but I felt like I needed something healthier (and faster), so I whipped up these. It's an old recipe written by Mom on an index card and taped onto a sheet of notebook paper.


Carrot-Bran Muffins

1 1/2 c whole bran cereal
1 c buttermilk
1 c flour
1/4 c brown sugar, packed
2 t baking powder
1/2 t baking soda
1/2 t salt
1 beaten egg
1 medium carrots, finely shredded (3/4 c)
3 T cooking oil

Combine bran and buttermilk; let stand about 3 minutes. In mixing bowl, stir together dry ingredients. Combine milk-bran, egg, carrot, and oil; add to flour all at once, stirring just til moistened. Fill greased muffin cup 2/3 full. Bake at 400 degrees for 20-25 minutes. 12-14 muffins.

They were very...healthy. There was just a slight hint of sweetness (Read: Add more sugar). They would also probably do well with raisins. I'm trying to increase C's fiber intake, so hopefully these help. Note: They were done in 16 minutes. 25 would have been way too long.

Sunday, February 2, 2014

Four Week Bran Muffins

We had these muffins quite awhile ago, and I'm just now getting around to putting them up. Sorry. I had been looking for a refrigerator bran muffin recipe a while ago, so I was happy to see this one. This comes from the Eating Well...While Spending Less packet from North Dakota State University.

Equipment you will need
-measuring cup
-measuring spoons
-mixing bowl
-mixing spoon
-plastic wrap or cover
-muffin pan

Ingredients

4 eggs
1 cup soft or melted margarine
1 quart buttermilk (or sour milk*)
1-1/2 cups sugar
5 teaspoons baking soda
1-1/2 teaspoons salt
1 (15 ounce) package raisin bran cereal (or 9 cups bran flakes with raisins)
5 cups flour

To make the mix

1. Break eggs into a large bowl and beat well.
2. eat in margarine, buttermilk, and sugar until well mixed.
3. Add baking soda and salt. Stir well.
4. Mix in raisin bran.
5. Add flour and stir until just mixed. The batter will be thick.
6. Cover and store in the refrigerator. The batter will keep about four weeks if the refrigerator is at 40 degrees.

To bake the muffins

1. Preheat oven to 400 degrees.
2. Grease muffin pan or use paper baking cups.
3. Take batter our of refrigerator.
4. Fill each muffin cup 2/3 full.
5. Bake in oven at 400 degrees about 15-20 minutes, until brown.
6. Return leftover batter to refrigerator.

Makes 6 dozen muffins

*To make sour milk, mix two tablespoons lemon juice or vinegar with two cups skim milk.

I'm pretty sure I halved the recipe because 6 dozen muffins would take us more than 4 weeks to go through, even baking them up a few at a time. Even though I halved the recipe I don't think we got 3 dozen muffins from it (and we have small muffin pans). And, I think I used plain bran flakes instead of raisin bran.

We enjoyed them twice. Once right when I mixed them up. The second time was a few days later, and they tasted just as good. The batter was very thick and scooped like ice cream after sitting in the fridge for several days. It was nice to have them already mixed up in the morning, so we could just bake them up to eat.

Monday, July 1, 2013

Warm Chicken Salad with Oranges and Almonds

Since we have 1 o'clock church, we like to have easy recipes that we can come right home to and start eating. This one seemed easy enough to put together and get on the table quick.

2 medium oranges
6 cups torn romaine lettuce
1 medium red sweet pepper, cut into bite-sized strips
1/2 of a small red onion, halved and thinly sliced
1/3 cup slivered or sliced almonds, toasted
1 pound skinless, boneless chicken breast halves , cut into thin bite-size strips
1 tablespoon olive oil
1/3 cup orange juice
1 tablespoon red wine vinegar
1 tablespoon live oil
1 teaspoon Dijon-style mustard
coarsely ground black pepper

Step 1: Peel oranges. Cut into 1/4 inch slices; quarter each slice. In a large salad bowl toss together orange slices, romaine, sweet pepper, onion, and almonds. Set aside.

Step 2: Season chicken with salt and black pepper. In a large skillet heat oil. Cook and stir chicken in hot oil for 4 to 5 minutes or until no longer pink. Remove skillet from heat. Toss chicken with mixture in salad bowl. Divide salad among four plates.

Step 3: Stir orange juice and vinegar into the hot skillet, scraping up any brown bits in the skillet. Whisk in 1 tablespoon olive oil and the Dijon-style mustard. Serve salad with warm dressing. Season to taste with coarsely ground black pepper. Makes 4 servings.

We liked it. I didn't see the red onion listed in the ingredients so I completely forgot to buy one when we were at the store, but it still tasted good with out it. The onion would have definitely given it a little extra kick. It was also pretty darn easy to make. Thanks successful farming for another good recipe!

Tuesday, April 9, 2013

Meatless Mexican Lasagna

This is from one of the Taste of Home issues in a section about light meals.

This is the Taste of Home photo. Mine looked pretty much exactly like this except it didn't have that little lime star on top. And we don't have a  fancy camera.


Meatless Mexican Lasagna Recipe

Ingredients
2 cups frozen corn, thawed
1 can (15 ounces) black beans, rinsed and drained
1 can (14-1/2 ounces) diced tomatoes with basil, oregano and garlic, undrained
1 can (4 ounces) chopped green chilies
3 green onions, sliced
2 teaspoons dried oregano
2 teaspoons ground cumin
4 corn tortillas (6 inches)
1-1/2 cups (6 ounces) shredded Mexican cheese blend
6 tablespoons plain yogurt


Nutritional Facts
1 piece equals 291 calories, 11 g fat (6 g saturated fat), 25 mg cholesterol, 781 mg sodium, 38 g carbohydrate, 6 g fiber, 14 g protein. Diabetic Exchanges: 2 starch, 1 lean meat, 1 vegetable, 1 fat.


Directions
In a large bowl, combine the first seven ingredients. Place two tortillas in an 11-in. x 7-in. baking dish coated with cooking spray. Spread with half of the corn mixture; sprinkle with half of the cheese. Repeat layers.
Bake, uncovered, at 400° for 15-20 minutes or until heated through. Let stand for 5 minutes. Garnish each serving with a dollop of yogurt. Yield: 6 servings.

This was a nice, light dish. Unfortunately, it was light enough that Brian and I each had two servings. C had some too, but the green chilies were a little spicy for her. I added in two extra tortillas because four small tortillas for six servings didn't seem like very much. And it wasn't. I figure that even though we had two servings, it was still much healthier than a typical meat and potatoes meal.  Bonus: Since there is no meat, it is a relatively frugal meal. If you want to make it more filling, add more tortillas.